I've put together a quick little video showing how to use it. The end result is quite punchy and I'd tweak the photo a bit more if I was making a print, but it shows the graduated filter effect quite well.
Also wanted to point out, the video compression makes the sky look a lot worse than it actually is. It isn't actually that blotchy. :)
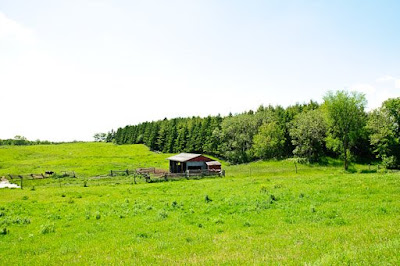
Here's the original image with no graduated filter. It was a bright, sunny day, and you can see the sky is blown out.

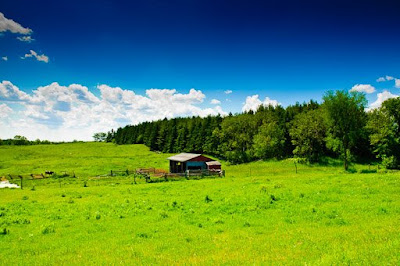
Here's the end result after I've applied a graduated filter in Lightroom as shown in the video. I also punched up the color with the Lightroom Vibrance setting.

Try the Lightroom Graduated Filter for yourself. If you haven't used it yet, I think you'll be surprised how quick it is to use and how well it works.
3 comments:
Another neat thing I saw recently w.the grad filter in LR2: use it to increase the brightness from 1 side to add another lightsource - like a fill light.
Sounds interesting Travis. I'll have to give it a try. Thanks!
What a great idea. I tried a few shots I had with ugly sky's and it fixed them right up with just a minute of work. If people are in the shot then I export two copies to photoshop and use a mask layer to blend.
Post a Comment